This tutorial explains how to install and use any block WordPress theme on your server.
Table of Contents
Introduction
There is a ZIP archive that you should download from our site before we start (change THEME NAME with actual name of the theme):
- THEME NAME – WordPress Theme (hot-THEME-NAME-wp-theme.zip)
1. Install and Activate the Theme
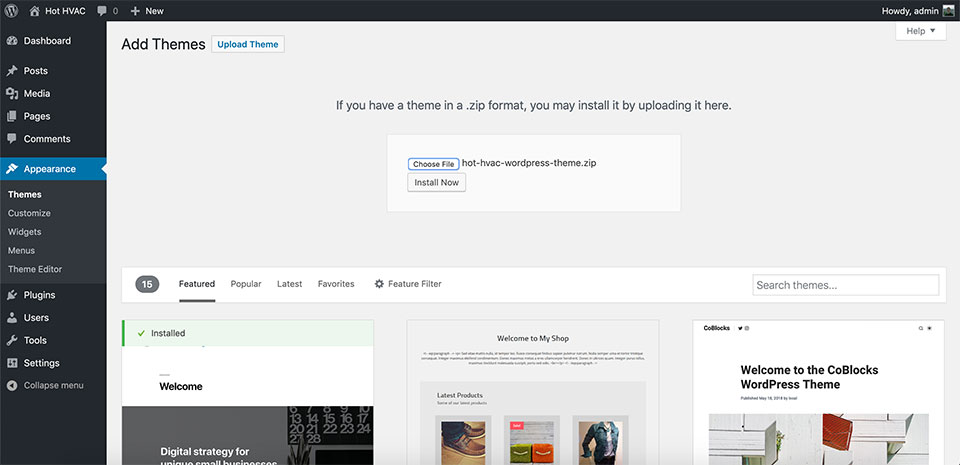
From your WordPress Dashboard, go to Appearance > Themes. Click Add New button.

Click the Upload Theme button. A new dialog will ask you to upload the theme in .zip format. So, click Choose File button and select file hot-THEME-NAME-wp-theme.zip from your computer. Finally, click Install Now button.
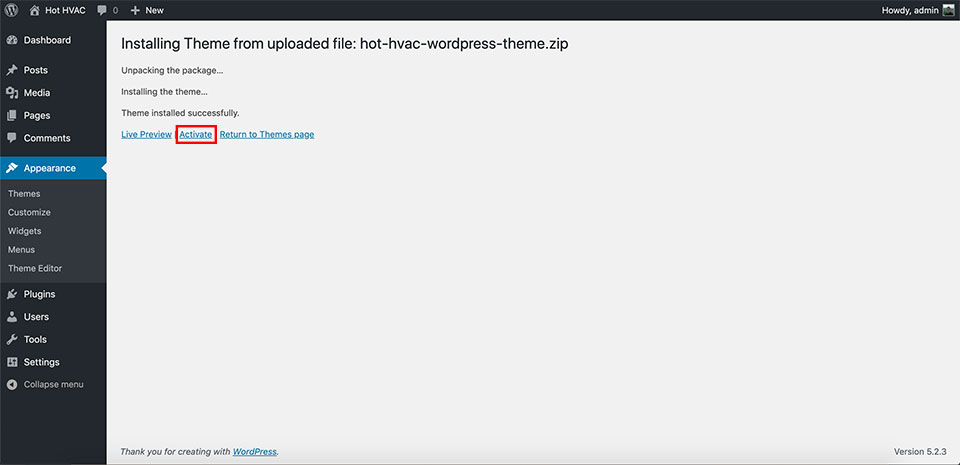
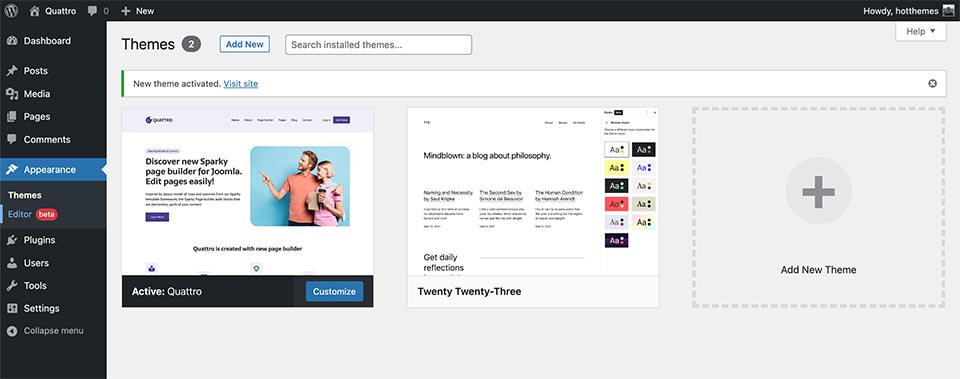
You should receive the message “Theme installed successfully.” and the next step is to activate it. Click Activate link to activate the theme.
2. Edit Front page
The Front page template is provided with every block theme. As soon as you activate the theme, your website’s front page will start using this template. Now, learn how to edit it.
Go to Appearance > Editor to open the site editor. Your front page template will be opened.
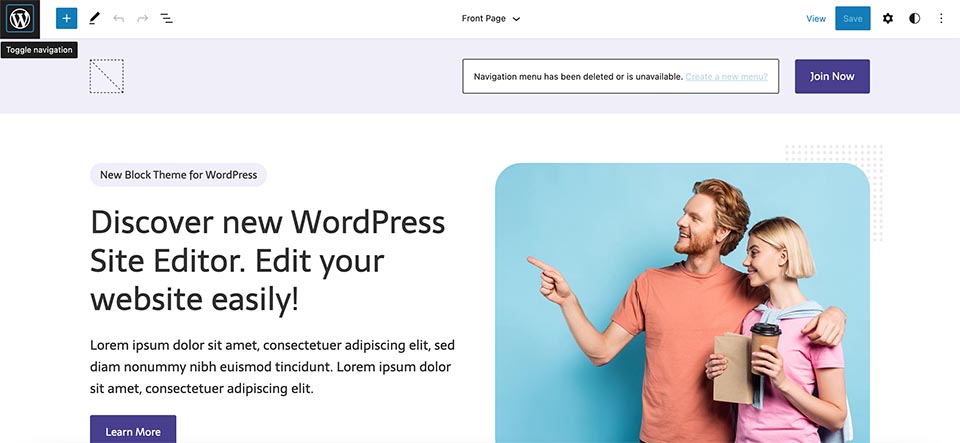
The above image is just an example from the Quattro theme. It may look different if you are using another theme.
As the first step, you can upload your logo image. Click on the logo container and upload your logo image. Then save the changes.
Using the WordPress block editor (Gutenberg), you can edit all elements of the front page. You can change headings, text, images, etc.
3. Create your pages using block patterns
On our theme demos, you can see various inner pages. Each of these pages contains various sections that are designed and filled with demo images and text. You can insert any of these sections into your pages using the block patterns that are bundled with every block theme.
From your WordPress Dashboard, go to Pages and add a new page. For purpose of this tutorial, let’s create the “Meet the Team” page that you can see on our demo.
Click + to add a block and then click “Browse all”. Click the “Patterns” tab and select a category from the drop-down menu that's named like the theme you are using. All the patterns bundled with this theme will be displayed.
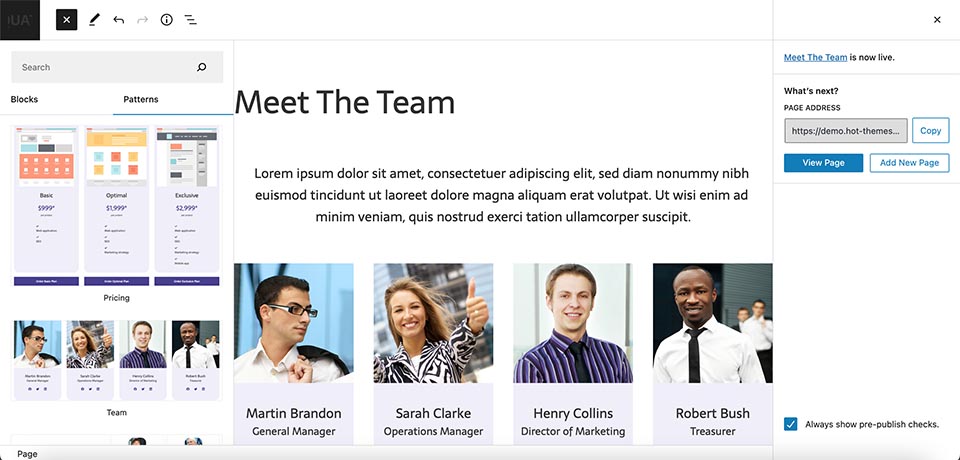
Insert the patterns that you want. Save the page. As you can see, you created a page with block patterns in just a few clicks.
The imported patterns can be later edited so you can change text, images, etc.
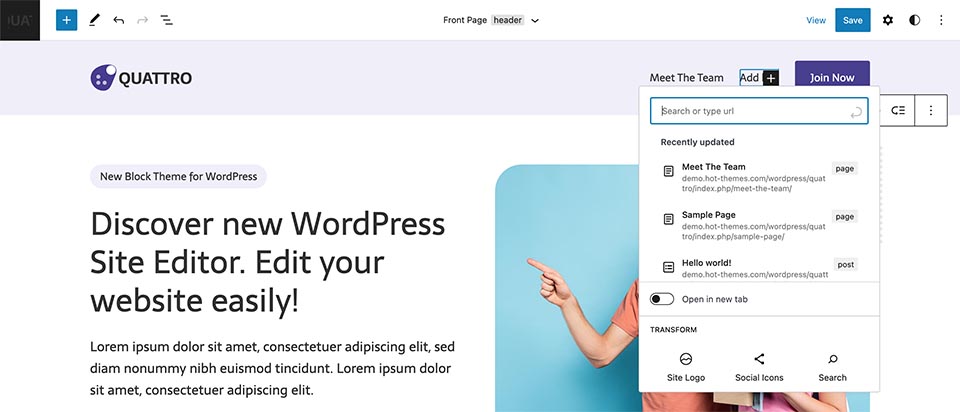
4. Add menu items
Every block theme comes with one or more positions for your menus. Using the Navigation block in the site editor, you can add the links to the pages you created previously.
Go to Appearance > Editor to open the site editor. On all menu positions, you will see a notice that the navigation menu is not available and the link to create it. Click on the “Create a new menu” link and then click + to add the first menu item. Select your page and the link will be added.