
In this tutorial, we will guide you step-by-step on how to install the latest version of Joomla on your Hostinger hosting account.
Hostinger became a popular web hosting provider thanks to their affordable prices and the very satisfying performance of the websites hosted with them. Unlike many other popular providers that are using cPanel for web hosting management, you will manage your Hostinger account with their in-house solution. We found this application very intuitive and user-friendly. It also lets you create a website using AI. After answering a few questions and uploading some images, Hostinger's AI will create a website for you. You can try that if you like, but in this post, our main topic is Joomla and how to install it properly on Hostinger.
1. Download the latest Joomla package
Go to https://www.joomla.org/ and from the Downloads section, download the latest stable version of Joomla as a full ZIP package. Store it on your computer. The package file is named "Joomla_X.X.X-Stable-Full_Package.zip" (X's are indicating version number).
2. Point your domain to Hostinger
Make sure that your domain is pointing to Hostinger. There are two methods to achieve this: using nameservers or A record. We recommend you read this if you haven't set this yet: https://www.hostinger.com/tutorials/how-to-point-domain-to-hostinger
3. Add your domain to your Hostinger hosting account
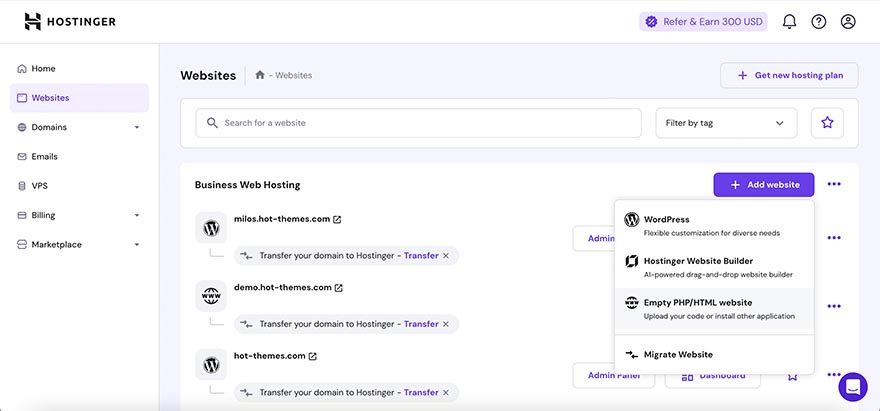
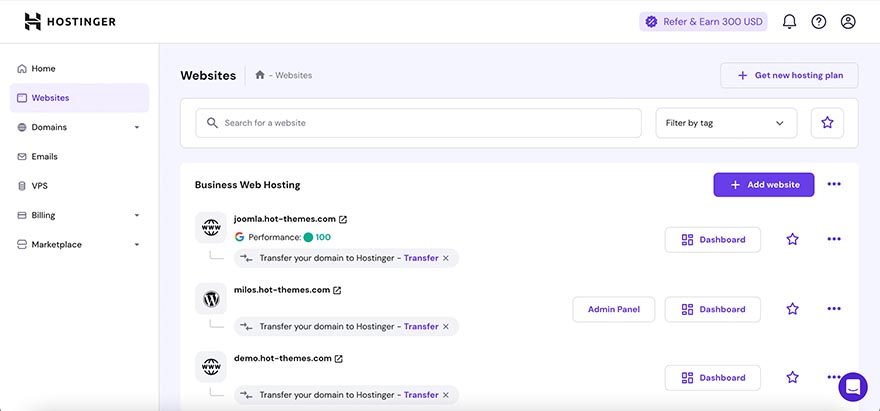
Log in to your Hostinger control panel. From the Home of the control panel, click Websites. Now, click the "Add website" button and select the "Empty PHP/HTML website" option.
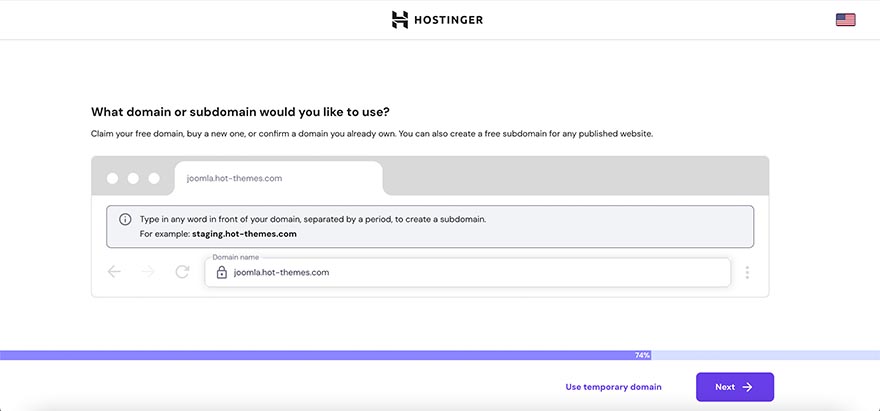
On the next screen, you should enter your domain or subdomain. For this tutorial, we will use "joomla.hot-themes.com" (that's obviously a subdomain).
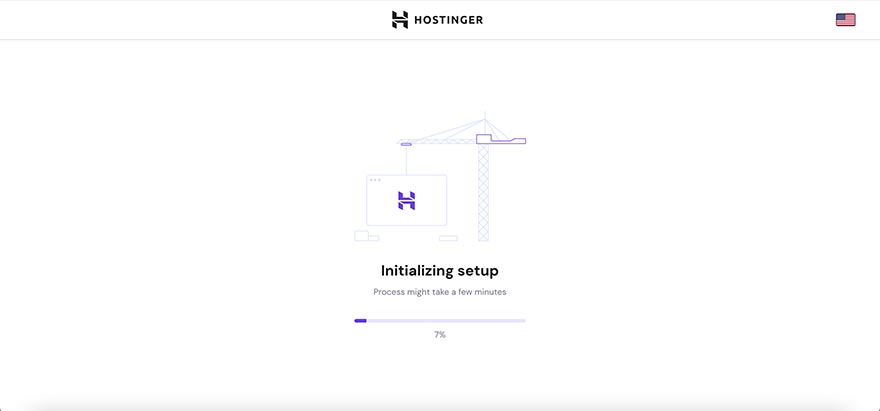
You should wait a few moments until your new website is created for your account.
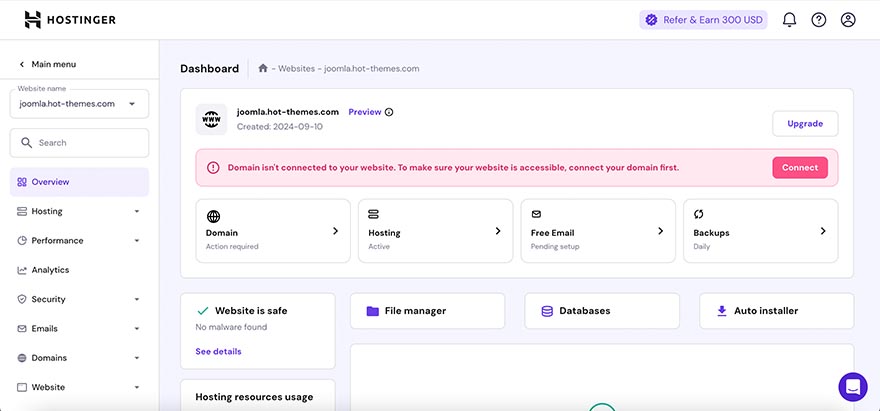
On the next screen, if you see the message "Domain isn't connected to your website" then you probably didn't point your domain or subdomain to Hostinger properly (see Step 2). Also, it's possible that you did this properly, but the change is not propagated throughout the Internet yet. In this case, you should just wait for some time. It can take up to 24 hours, but it's usually less than that.
When the website is created properly and your domain (or subdomain) is pointing to it properly, you will see it in the Websites section, without any errors. Now, you are ready to proceed with Joomla installation.
4. Create a new database for Joomla
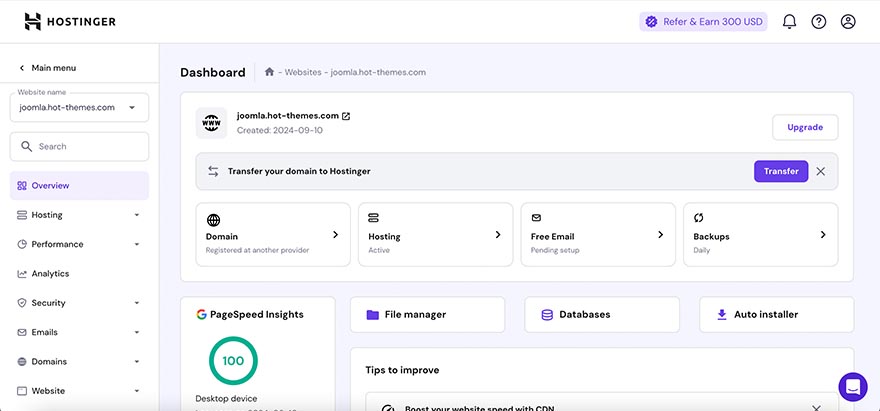
From the Websites screen, click the "Dashboard" button next to the domain (or subdomain) where you want to install Joomla. You will see a lot of features related to this domain.
Click the "Databases" to open this section.
The first pane on the Databases Management page lets you create a new database. You should enter MySQL database name, MySQL username, and password. The name and username start with a predefined random string while the rest should be added. For example, we added "joomla". A strong password will be automatically generated. Make sure you copied these 3 parameters in a plain text editor, as you will need them later (you can see the password if you click on the eye icon).
So, our database name will be for example "u123456789_joomla" and the database user name will also be "u123456789_joomla". Something similar should be in your case.

After clicking the "Create" button, you should see the message that the database was created successfully. You can click the "Overview" button to get back to the domain's dashboard.
5. Upload and extract Joomla files
From the domain's dashboard, click the "File Manager" button.
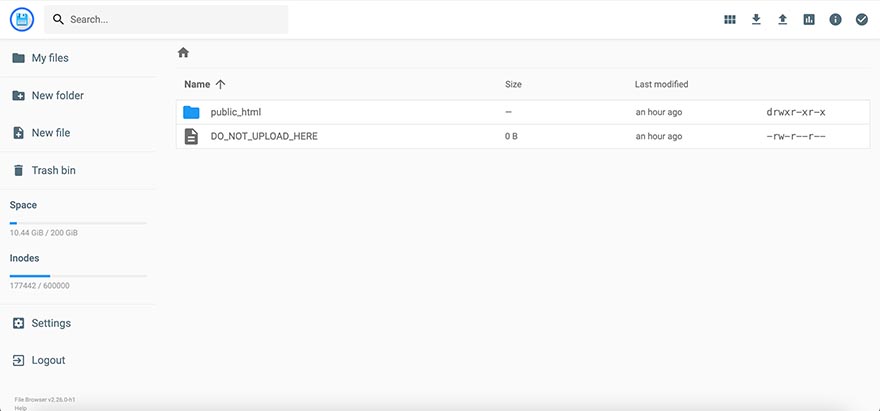
The intuitive and user-friendly Hostinger's file manager will be opened, showing the root path of your website. You don't upload anything there. Instead, double-click the "public_html" button to open it.
From the top right icons, click the "Upload" button (arrow up).

From the pop-up window, click the "File" option and select Joomla archive from your computer. This is the file you downloaded in Step 1.
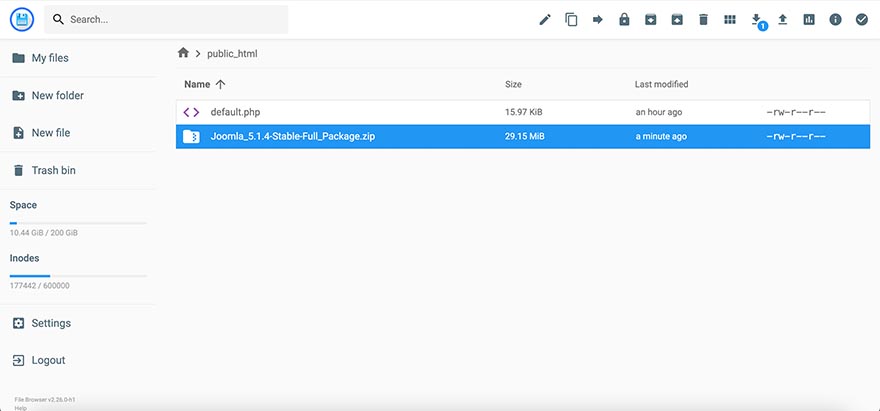
Depending on your connection speed, it will take some time to upload the Joomla archive completely. When it's done, you will see it in the "public_html" folder.
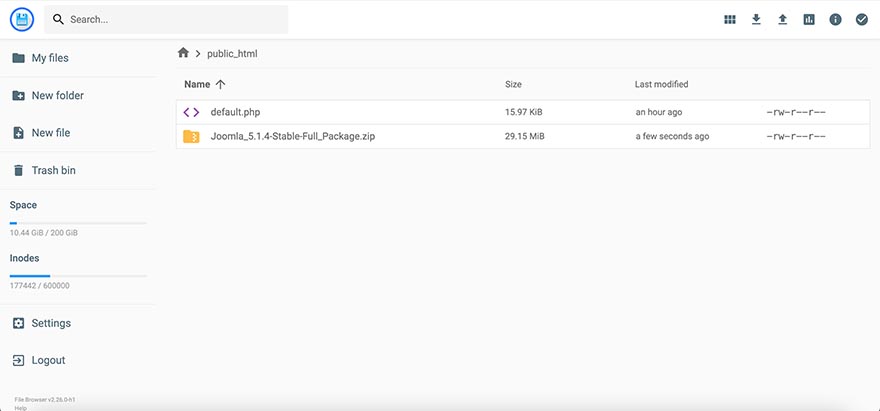
Now, let's unpack the Joomla archive. Single-click on the archive name to select it. From the top right icons, click "Extract" (box with arrow up).
In the pop-up window enter / (forward slash) for the folder name and click "Extract".

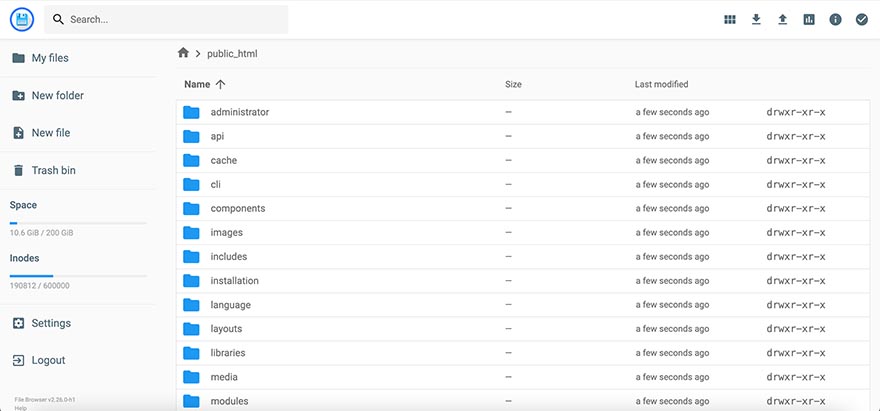
The Joomla files will be extracted to the "public_html" folder. You are now ready to start the Joomla installation on your Hostinger hosting account. You can delete the ZIP archive from the same folder now, as it's not needed anymore.
This accomplishes the work that should be done from the hosting control panel.
6. Install Joomla
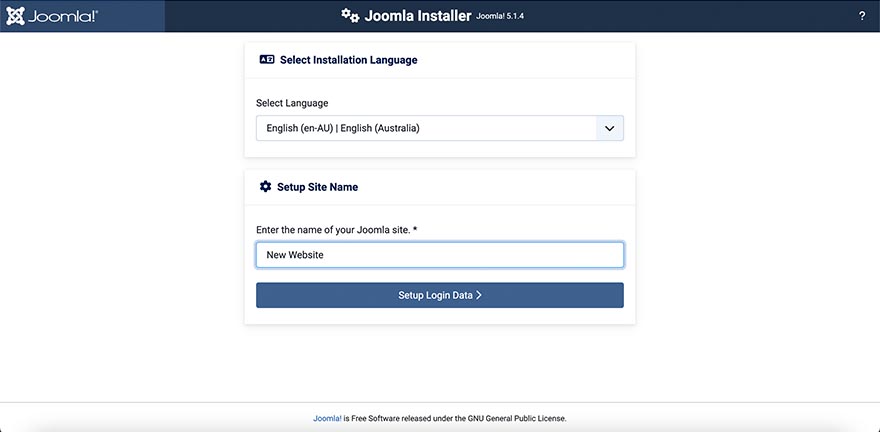
Now you can enter your domain (or subdomain) in your browser and Joomla installation should start. Enter your website name to proceed.
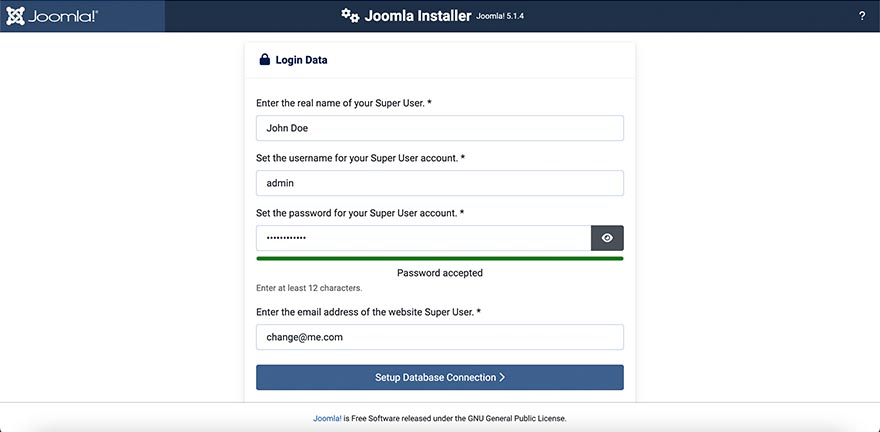
In the second step, you should enter your Joomla super administrator's name, username, password, and email address.
The next step is important because you should enter database details from Step 4. Ensure you properly enter the database username, password, and name. You don't need to change the other parameters.
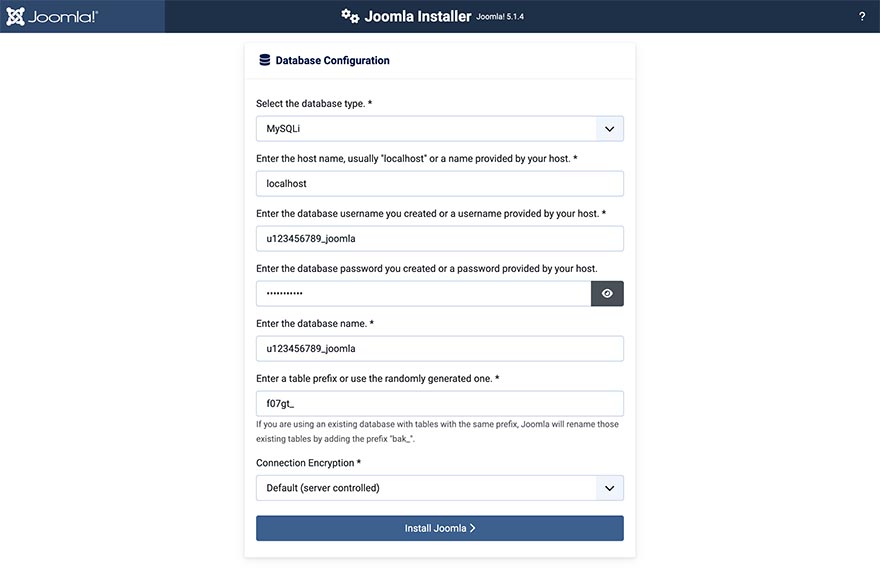
Finally, click the "Install Joomla" button and your new Joomla website will be installed on Hostinger.

Conclusion
Installation of Joomla CMS on Hostinger hosting is straightforward. We tried to describe this in all possible details. When you accomplish this for the first time, you will realize that the procedure is not complicated. Basically, you will need no more than 3-5 minutes to install Joomla on this hosting.
Something more important than this is the fact that Joomla works seamlessly on the Hostinger hosting. It's optimized for Joomla and you should not experience any trouble working with Joomla on this hosting.