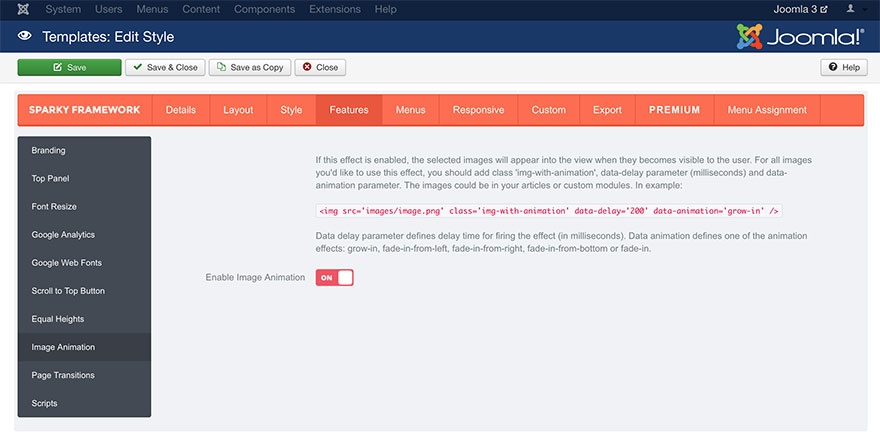
There’s only one parameter in this sub-tab and it allows you to either enable or disable this feature. If this feature is enabled, the selected images will not be visible until they are inside the browser’s window. Once they are in the browser’s window (after page loading or scrolling), a selected animation will start and the images will become visible to the user.

For all images you want to use this effect, you should add class value “img-with-animation", data-delay parameter (milliseconds), and data-animation parameter. The images could be in your articles or in the custom modules. This is a sample HTML code for an animated image:

The Data delay parameter defines the delay time for firing the effect (in milliseconds). Data animation defines one of the animation effects available: grow-in, fade-in-from-left, fade-in-from-right, fade-in-from-bottom, or fade-in.
Animation of Other Elements
We included this feature in Sparky primarily for the images, but you can use it for any other element of your site, such as <div> containers. All you need to do is to add “img-with-animation" class to your <div> element and data-delay and data-animation properties.
In example:
Any content here…
Note that animated <div> may contain any HTML code. The entire content of the <div> will be animated. Also note that too many, especially big animated elements on a page may slow your site down. Although the animation is powered by CSS3 and it uses your graphic processor for the best results, too many animated elements are not recommended.
Sample
A sample of the animated images and containers. This sample is from Transport template. This template is available for all premium members.
